Branching & approvals
Workflow Branches
Branches let a single workflow split into different paths based on conditions about the request, the requester, time, or context. Use them to build multiple scenarios in one workflow (for example, handle HR vs. IT, US vs. EU, inside vs. outside office hours) without duplicating workflows.
What to expect
One trigger, many outcomes: evaluate conditions and run different action sequences under each branch.
Independent evaluation: each branch runs only if its condition is true. Multiple branches can run if several conditions match; make conditions mutually exclusive if you want only one path to fire.
Mid‑flow decisions: insert a Branch anywhere in your action list to fork later steps based on updated fields or tags set earlier in the same workflow.
Full audit: which branch(es) ran is logged in the request timeline.
What you can branch on
Request fields: service, status, priority, inbox, tags, channel, source, SLA state, snooze/waiting, etc.
Requester attributes: department, team, location, manager, contract type, seniority, employment status.
Time and context: Office hours (within/outside), created date/time, day of week.
Custom signals: your own tags or fields added earlier in the flow, or responses from webhooks.
Typical use cases
Language routing: if language = fr → reply with French template; if = en → English template.
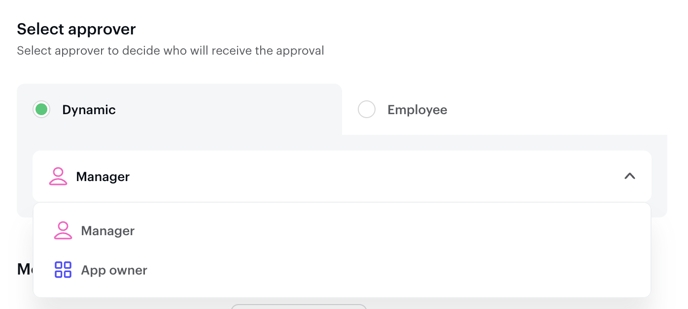
Access requests: if service = App Access and office = Madrid → set approver = local manager; else → app owner.
After‑hours handling: if outside office hours and priority < P1 → auto‑reply and queue; if outside hours and P1 → notify on‑call.
Region/team triage: if requester.department = Sales (EMEA) → HR‑EMEA inbox; if = Sales (AMER) → HR‑AMER inbox.
Risk paths: if tag = “incident” → set priority High, add security followers; if tag = “FAQ” → auto‑reply and close when acknowledged.
Approval requests
What is an approval request, and why is it important?
In a corporate environment, certain actions — such as accessing an app, ordering new hardware, or requesting time off — often require prior validation. This validation ensures that the right people are aware of the request, confirm its legitimacy, and approve it before resources are allocated or changes are made.
Approvals help businesses:
Maintain control over costs and security
Ensure alignment with internal policies
Improve accountability across teams
Siit includes a powerful and flexible Approval Request feature that fits seamlessly into your automated workflows. Whether it’s granting app access, ordering equipment, or processing a specific employee request, Siit enables you to trigger automated approvals to the right people — at the right time.
How to set up an approval in your workflow?
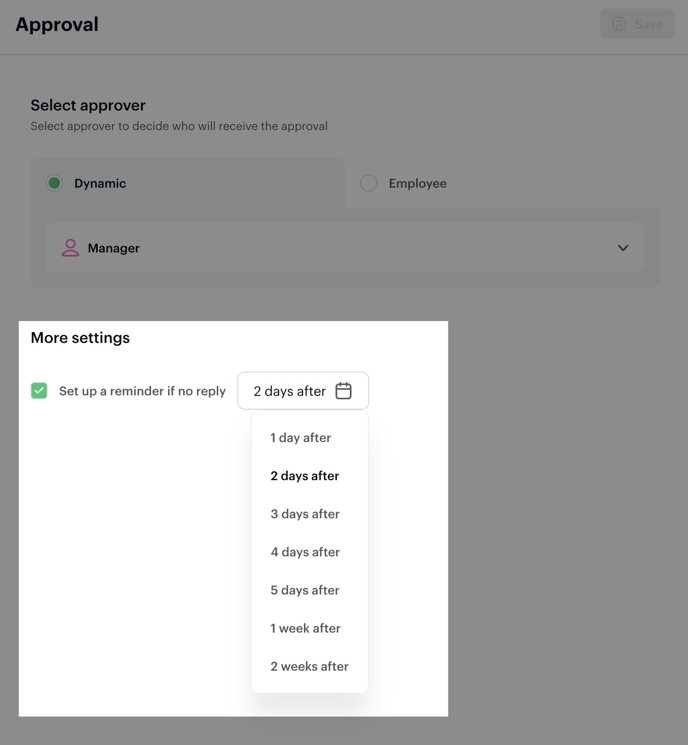
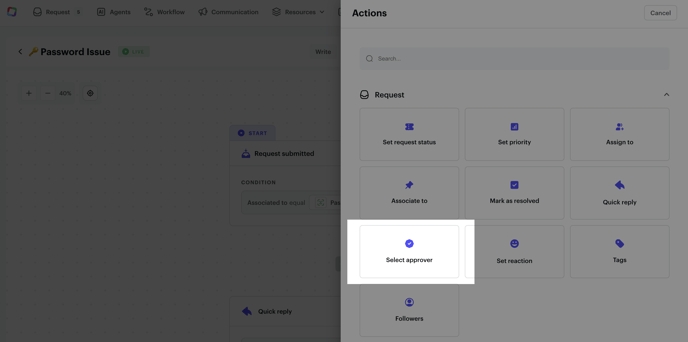
The Approval is an action that can be added to any requests workflow via the "Select approver" action.
Add an Approval action
Add an Approval action at the point where validation is needed.
Once added, it will automatically present the two branches for the "approved" or the "rejected" option, allowing you to configure follow-up actions according to the choice made.
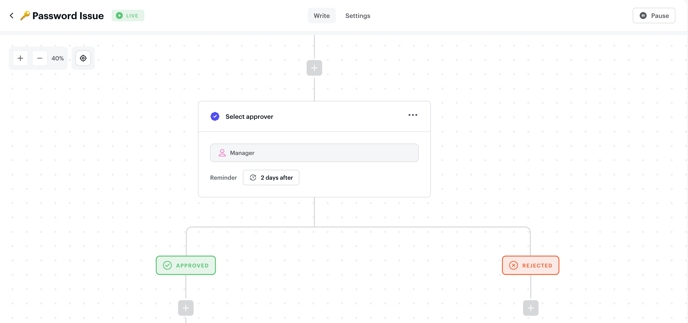
You can set up single or multi-level approval sequences.
How to approve?
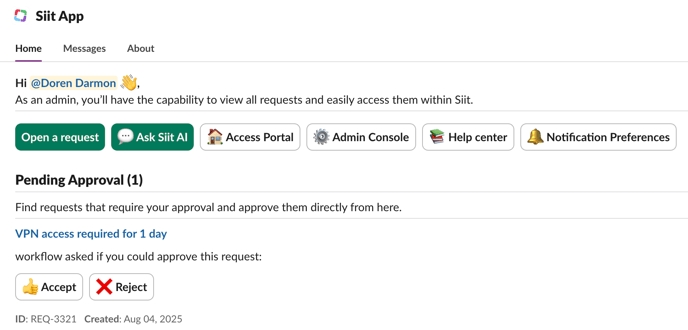
Approvers will receive a notification on Slack or Teams. They simply review the request and either Accept 👍 or Reject ❌.
Example: App Access Request with 3-Level Approval
Let’s say an employee requests access to a paid app like Salesforce or Asana. The company wants to make sure the right stakeholders validate the request before granting access.
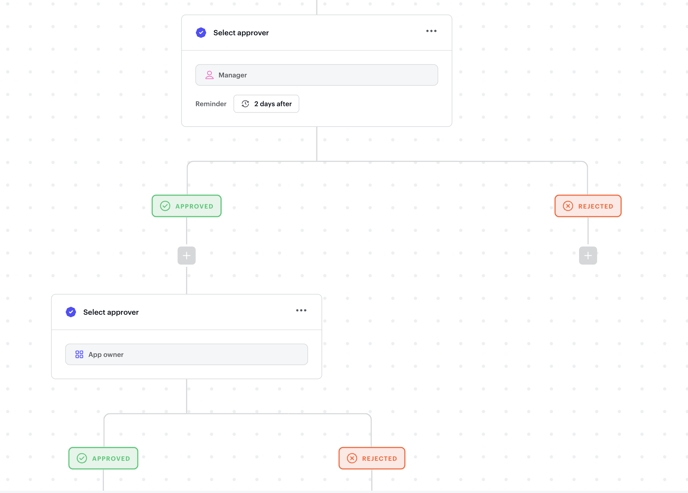
This setup ensures that each stakeholder is involved only when relevant, and the request is not escalated unnecessarily if blocked early in the process.
Last updated


